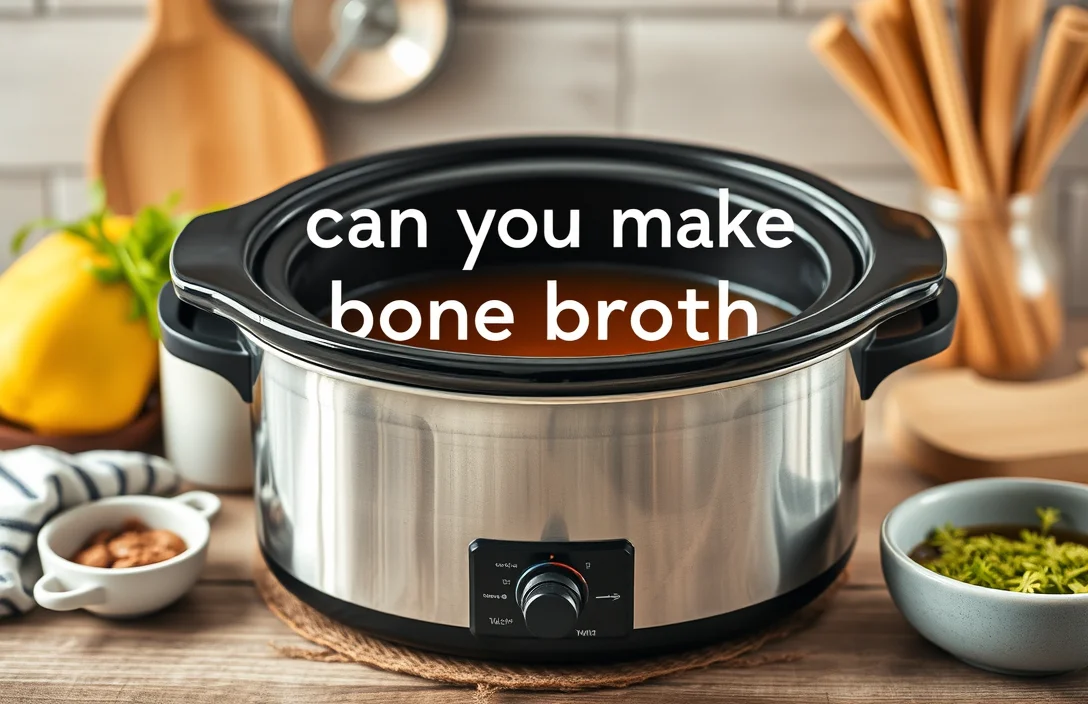
How to Make Bone Broth in a Slow Cooker: A Simple Process
Seventy-two hours is the time needed to extract nutrients from bones, but you can achieve a rich bone broth in a slow cooker within 24 hours. This method allows for convenience and flavor without constant supervision, making it a popular choice among home cooks.
Yes, you can make bone broth in a slow cooker. Key factors include using quality bones, adding acid like vinegar to draw out minerals, and cooking low and slow for optimal flavor extraction. Enjoy a nutritious addition to your meals!
Selecting the Right Bones
Bone selection significantly impacts broth quality. For rich flavor and nutrients, prioritize marrow bones, which contain gelatin and fat. Also, consider joints like knuckles or oxtails that add depth. Mixing various bones enhances the overall taste profile, making the broth more robust and satisfying.
- Choose marrow bones for richness.
- Incorporate joints for additional depth.
- Mix different types for complexity.
- Opt for grass-fed sources when possible.
- Look for bones with plenty of collagen.
Quality matters greatly in results. Fresh bones yield better flavors and nutrition, so source from reputable butchers or farmers’ markets. Avoid pre-packaged or frozen options unless necessary, as they can lack the freshness required for optimal extraction.
Preparing Bones for Cooking
Cleaning and roasting bones enhances flavor and provides a rich base for your broth. Start with fresh bones, whether beef, chicken, or pork. Rinse them under cold water to remove any residual blood and impurities. This step is crucial for a clear, clean broth.
- Rinse bones thoroughly under cold water. Make sure to scrub any visible debris; this ensures a clean cooking process.
- Place rinsed bones on a baking sheet. Preheat your oven to 400°F (200°C) to roast them, which intensifies their flavor.
- Roast bones for approximately 30-45 minutes. Watch for browning, as this caramelization adds depth to the broth.
- Remove bones from the oven. Allow them to cool slightly before transferring to your slow cooker.
- Consider adding optional ingredients. Vegetables like onions, carrots, and celery can be roasted alongside for added flavor.
Roasting not only enhances the taste but also contributes to the overall quality of your bone broth. Following these steps ensures a rich and flavorful end product.
Choosing Ingredients and Seasonings
Fresh herbs enhance flavor significantly. Common choices include parsley, thyme, and bay leaves. These ingredients not only add taste but also contribute nutrients to your broth. Generally, using a handful of each herb will provide a well-rounded flavor profile without overpowering the natural taste of the bones.
Carrots, onions, and celery provide essential base flavors. These aromatic vegetables, often referred to as mirepoix, create a savory backdrop for the broth. Chop them roughly and add them to the slow cooker along with the bones. Their natural sweetness will balance the rich flavors extracted during cooking.
Garlic adds depth and richness. Whole cloves can be tossed in without peeling, allowing their essence to seep into the broth. For an added kick, consider using roasted garlic, which will give a sweeter, mellow flavor compared to raw garlic.
Black peppercorns enhance the overall taste. A tablespoon of whole peppercorns will infuse the broth with warmth without making it spicy. Adjust the quantity according to your preference for spice levels.
Apple cider vinegar aids nutrient extraction. Adding a couple of tablespoons to the slow cooker helps draw out minerals from the bones, enriching the broth. This ingredient is crucial for creating a nutritious and flavorful final product.
Setting Up Your Slow Cooker
Properly loading your slow cooker ensures optimal bone broth extraction. Begin by placing the bones at the bottom, as this allows for better heat distribution. Layering vegetables and aromatics on top enhances flavor development. Ensure not to overfill, leaving some space for liquid expansion during cooking.
- Fill the slow cooker with bones, ensuring they form a solid base.
- Add chopped vegetables like onions, carrots, and celery for added depth.
- Sprinkle herbs and spices to enhance flavor, making sure they coat the ingredients.
- Pour in enough water to cover the contents, but avoid spilling over the rim.
- Seal the lid tightly to maintain heat and moisture during cooking.
Monitoring the cooker’s fill level is crucial. Overloading may cause spills, while underfilling can lead to uneven cooking. Adjust ingredients as necessary to fit within the recommended guidelines of your specific slow cooker model.
Timing for Bone Broth
Cooking bone broth in a slow cooker requires specific timing for optimal results. Generally, allowing the broth to simmer for 12 to 24 hours extracts the most flavor and nutrients from the bones. For chicken bones, 12 to 14 hours is sufficient, while beef bones benefit from a longer cook time, around 18 to 24 hours.
Longer cooking times enhance nutrient extraction significantly. Collagen, minerals, and amino acids dissolve into the broth, creating a rich, flavorful base. Monitoring the broth during the cooking process helps ensure that it does not boil over or evaporate too much, which can alter the final flavor.
Shorter cooking durations may yield a lighter broth. If you’re pressed for time, consider a minimum of 8 hours for chicken and 10 hours for beef, but expect a less robust flavor. Adjust the cooking time based on your taste preference as well as the type of bones used.
Many users prefer starting the broth in the evening to have it ready by morning. This method allows for a full night of simmering, giving you a nutrient-dense broth by breakfast. Plan ahead to maximize the flavor and health benefits when making this nourishing staple.
Straining and Storing Broth
Straining the broth ensures a smooth, flavorful liquid. Begin by placing a large colander or sieve over a pot or bowl. Carefully pour the contents of your slow cooker into the colander, allowing the broth to pass through while catching solids like bones and vegetables.
- Allow the broth to cool. Let it sit for about 15-30 minutes before transferring to prevent burns and to make handling easier.
- Use a fine mesh strainer. For an even clearer broth, pour the strained liquid through a fine mesh strainer or cheesecloth to remove any remaining small particles.
- Store in airtight containers. Pour the strained broth into glass jars or plastic containers, leaving some space at the top for expansion if freezing.
- Label and date containers. Mark each container with the date made and contents for easy identification later.
- Refrigerate or freeze. Broth can be stored in the refrigerator for up to a week or frozen for several months. If freezing, consider using ice cube trays for easy portioning.
Enjoy your homemade broth in soups, sauces, or as a base for various dishes. Proper straining and storage ensure the best flavor and longevity.
Nutritional Benefits of Bone Broth
Consuming bone broth offers numerous health advantages. Rich in nutrients, it provides collagen, amino acids, and minerals essential for overall well-being. Regular intake may support joint health, improve skin elasticity, and enhance gut health by promoting digestion.
Collagen present in broth aids in maintaining skin structure, reducing wrinkles, and promoting hydration. This natural protein can also strengthen hair and nails, contributing to a more youthful appearance.
Amino acids found in bone broth, such as glycine and proline, are vital for muscle repair and growth. They help reduce inflammation and support recovery after physical activity, making it beneficial for athletes and active individuals.
Minerals like calcium, magnesium, and phosphorus are essential for bone health. Regular consumption of bone broth can contribute to stronger bones, especially important as one ages or engages in weight-bearing exercises.
- Supports joint health with glucosamine.
- Promotes gut health through amino acids.
- Boosts immune system with minerals.
Integrating bone broth into your diet can enhance your nutritional intake significantly. Consider it a flavorful base for soups, stews, or even enjoyed alone as a warm beverage.
Quick Summary
- Bone broth can be easily made in a slow cooker, allowing for low and slow cooking.
- Using a variety of bones (beef, chicken, or fish) can enhance the flavor and nutritional profile.
- Adding vegetables like onions, carrots, and celery can improve the taste and nutrient content.
- Herbs and spices, such as bay leaves and peppercorns, can be included for added flavor.
- Cooking time typically ranges from 12 to 24 hours, depending on the type of bones used.
- Straining the broth after cooking helps achieve a clear liquid while removing solids.
- The resulting broth can be stored in the fridge or freezer for future use in soups and recipes.
Frequently Asked Questions
Can I make bone broth in a slow cooker?
Yes, you can make bone broth in a slow cooker. Simply add your bones, water, and any desired vegetables or seasonings, then set it on low for 12-24 hours for a rich and flavorful broth.
What types of bones are best for making broth?
Beef, chicken, pork, and fish bones all work well for making broth. For a richer flavor, consider using a combination of bones, including marrow bones and joints, which provide gelatin and nutrients.
Do I need to roast the bones before using them?
Roasting the bones before adding them to the slow cooker can enhance the flavor of your broth. You can roast them in the oven at 400°F for about 30 minutes, which deepens the taste and adds a rich color.
How much water should I add to the slow cooker?
Generally, you should cover the bones with water, leaving some space at the top to prevent overflow during cooking. A good rule of thumb is to fill the slow cooker about three-quarters full with water.
Can I add vegetables and herbs to my bone broth?
Absolutely! Adding vegetables like onions, carrots, and celery, along with herbs such as thyme or bay leaves, can enhance the flavor of your broth. Just be mindful of the cooking time, as some vegetables may become too soft after long cooking periods.

- 8 Easy Slow Cooker Beef and Rice Recipes for Delicious Meals - March 29, 2026
- Slow Cooker Beef and Sausage Chili: 7 Steps to Flavorful Success - March 29, 2026
- Savory Beef Back Ribs in a Pressure Cooker: 7 Steps to Perfection - March 29, 2026