How to Cook Rice-A-Roni in a Rice Cooker: Step-by-Step Instructions
Statistics reveal that over 60% of households in the U.S. own a rice cooker, yet many wonder if they can prepare Rice-A-Roni in this appliance. The convenience of rice cookers makes them popular, but not all rice dishes are created equal.
Cooking Rice-A-Roni in a rice cooker is possible and simple. Just follow the instructions on the box for water measurements and cooking time. Add the seasoning provided for enhanced flavor, and enjoy a quick, easy meal.
Can Rice-A-Roni Be Cooked?
Cooking Rice-A-Roni in a rice cooker is indeed possible. Many rice cookers can handle this popular dish, allowing for a convenient cooking method. The key lies in properly adjusting the water-to-rice ratio and following the rice cooker’s instructions for best results.
Utilizing your rice cooker means you can achieve fluffy grains and evenly cooked flavorings. Start by measuring the Rice-A-Roni and the appropriate amount of water. Most packages specify a water amount, typically around 1.5 to 2 cups per cup of rice, but adjustments may be needed based on your specific cooker.
Experimenting with the cooking time may also be necessary. While rice cookers automatically adjust cooking times, keeping an eye on the process can prevent overcooking. Make sure to stir occasionally to ensure an even distribution of heat and flavor.
Consider adding extra ingredients like vegetables or proteins to enhance the dish. These additions can provide more nutrition and flavor. Just ensure that the total volume stays within the rice cooker’s capacity to prevent overflow.
Ultimately, rice cookers offer an easy solution for preparing Rice-A-Roni. As long as you follow the guidelines for water and cooking time, you can enjoy this dish with minimal effort and maximum flavor.
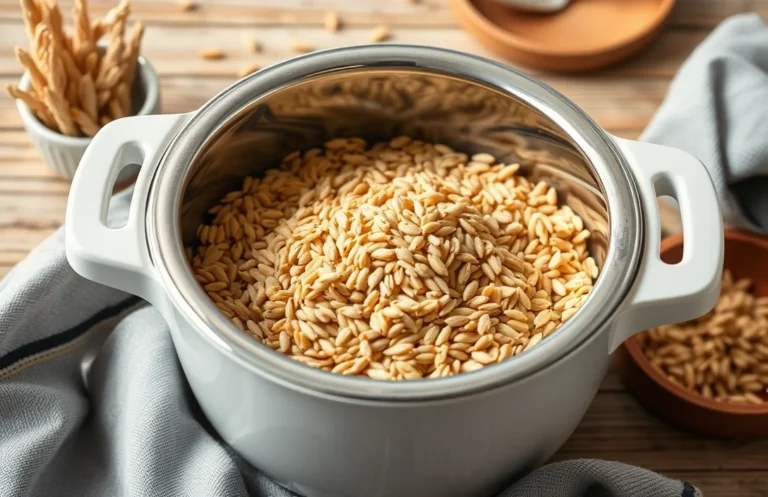
Choosing the Right Rice Cooker
Rice cookers with multi-functions serve well for cooking Rice-A-Roni. Look for models that offer settings for both white and brown rice, as they provide the necessary temperature control for different grains. Some cookers even come equipped with sauté features, which are beneficial for browning the pasta before adding water.
Capacity matters significantly for meal preparation. Select a rice cooker with a size that fits your needs; typically, a 5-cup model is ideal for families. Larger cookers can handle more substantial portions, making them suitable if you frequently entertain guests.
Quality materials ensure even cooking. Stainless steel inner pots distribute heat effectively, preventing burning or uneven results. Non-stick coatings simplify clean-up, but be cautious of durability and potential scratching.
Portability features enhance usability. Consider models with locking lids and lightweight designs, especially if you plan to transport the cooker for potlucks or gatherings. A compact size is also advantageous for limited kitchen counter space.
Price points vary widely among rice cookers. Budget-conscious consumers should seek reliable brands that provide essential features without unnecessary extras. Investing in a well-reviewed model often pays off in longevity and consistent performance.
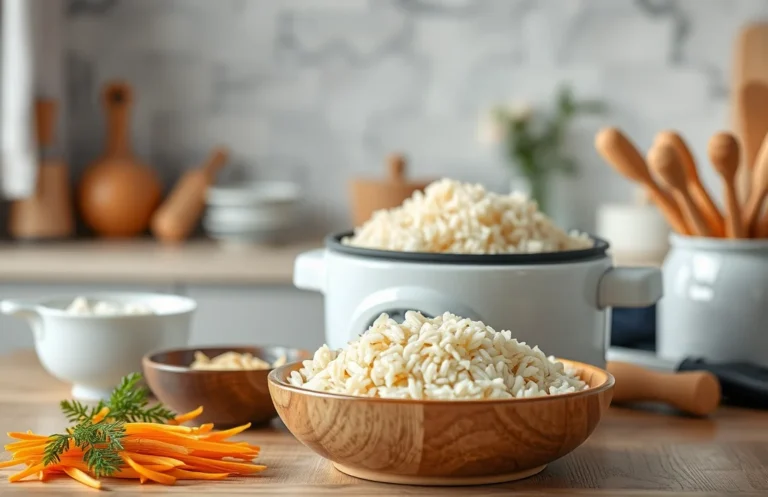
Preparing Rice-A-Roni Ingredients
Gather essential ingredients before cooking. Start with a box of Rice-A-Roni, which includes rice, pasta, and seasoning packets. You’ll need water and butter or oil for enhanced flavor. Measuring these ingredients accurately is crucial for optimal results in your rice cooker.
- Measure 1 cup of Rice-A-Roni. Use a dry measuring cup for precision, ensuring you get the proper ratio of rice and pasta.
- Add 2 cups of water. This ratio is vital for achieving the desired texture. Adjust slightly if you prefer a softer or firmer outcome.
- Include 2 tablespoons of butter or oil. This step adds richness and flavor to the dish. You can use olive oil, butter, or any preferred cooking oil.
- Stir in the seasoning packet. Mixing this in with the other ingredients ensures even distribution of flavors throughout the rice and pasta.
Mix everything well for uniform flavor. This preparation sets the stage for successful cooking in the rice cooker.
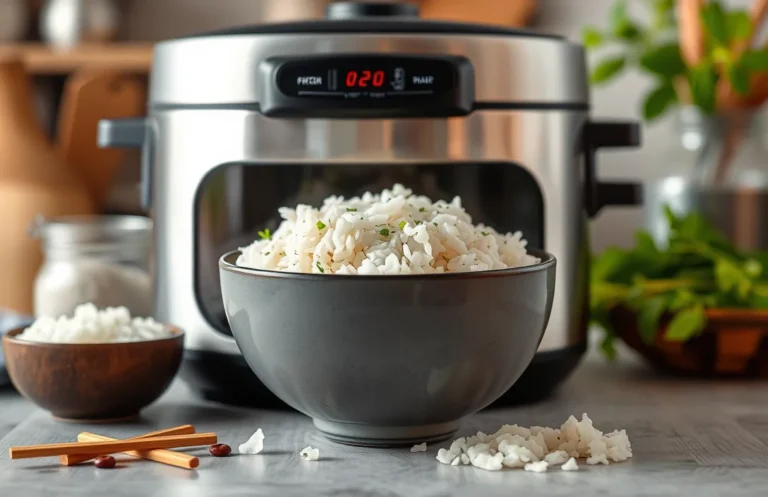
Cooking Time and Temperature
Rice-A-Roni requires specific cooking times and temperatures to achieve the best results in a rice cooker. Typically, set your rice cooker to the standard white rice setting, which usually takes about 10 to 15 minutes. Keep an eye on the cooking process, as different rice cookers may vary slightly in timing.
Adjustments may be necessary based on the quantity you’re preparing. For a single box, the standard time is adequate. If preparing multiple boxes, you might need to extend the cooking time to ensure everything is cooked through properly. Always refer to your rice cooker’s instructions for more accuracy.
Monitoring water levels is essential during cooking. Ensure there is sufficient liquid, as Rice-A-Roni absorbs water while cooking. If the water level appears low before the cooking cycle completes, add a small amount of water to prevent burning or sticking.
Finishing the cooking process involves allowing the rice to sit for a few minutes after the cooker indicates it’s done. This resting period allows for even moisture distribution, enhancing flavor and texture. Use a fork to fluff the rice gently before serving for the best presentation and taste.
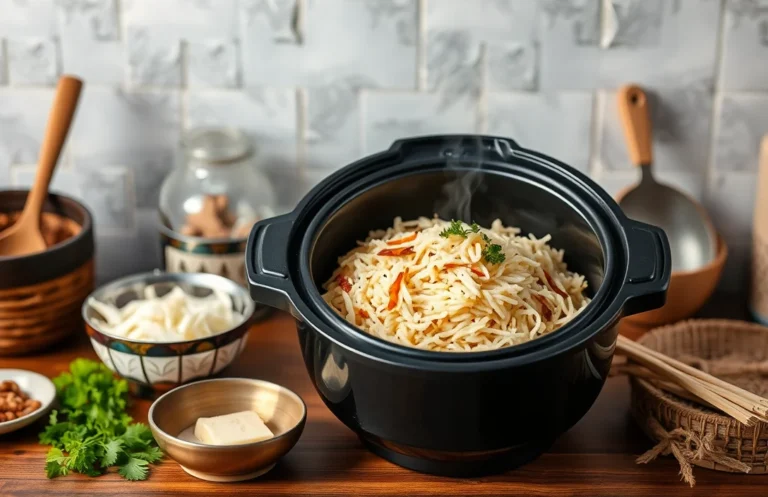
Adding Flavor Enhancements
Boosting flavor can transform Rice-A-Roni into a delicious dish. Start by sautéing the included rice and pasta mix in a small amount of oil or butter before cooking. This step enhances the nutty flavors and creates a richer base for your meal.
Incorporating broth instead of water elevates taste significantly. Chicken, beef, or vegetable broth adds depth and complexity. Adjust the seasoning accordingly, since broth can be saltier than water.
Fresh herbs can make a notable difference. Adding chopped parsley, cilantro, or basil just before serving brightens the dish and adds a fresh element. Consider also stirring in a squeeze of lemon or lime juice for acidity.
Spices can elevate the overall flavor profile. A pinch of garlic powder, onion powder, or paprika can enhance the dish without overwhelming it. For a kick, sprinkle in some red pepper flakes or a dash of hot sauce.
Vegetables enrich both taste and nutrition. Adding peas, bell peppers, or carrots during the cooking process not only enhances flavor but also adds color and texture. Adjust cooking times to ensure they don’t become mushy.
Troubleshooting Common Issues
Overcooked rice can be frustrating. If your Rice-A-Roni is too mushy, reduce the cooking time or water amount next time. Start by using slightly less water than recommended on the package. Adjusting these elements helps achieve the desired texture.
Burning on the bottom happens occasionally. If you notice burning, ensure the rice cooker is set to the right setting for cooking rice. Using a non-stick spray or oil on the bottom of the pot can also prevent sticking and burning.
Uneven cooking is another issue. Stir the mixture halfway through the cooking process to distribute heat evenly. This simple step ensures all grains cook uniformly, leading to a better final dish.
Dry rice is disappointing. If you find your Rice-A-Roni lacks moisture after cooking, try adding a little extra water the next time. A few tablespoons can make a significant difference in texture and flavor.
Lastly, stuck rice can be annoying. If rice clings to the pot, soak it in warm water for a few minutes after cooking to loosen it. This makes cleanup easier and allows you to salvage any leftovers without waste.
Quick Summary
- Rice-A-Roni can be cooked in a rice cooker, simplifying the preparation process.
- Follow the package instructions for water-to-Rice-A-Roni ratios, usually around 1:1.5.
- Sauté the rice and pasta mix in the rice cooker if it has a sauté function for added flavor.
- Use the white rice setting on the rice cooker, as it typically cooks Rice-A-Roni effectively.
- Monitor the cooking process, as different rice cookers may have varying cooking times.
- Let the Rice-A-Roni sit for a few minutes after cooking to absorb any remaining liquid.
- Experiment with adding vegetables or protein for a complete meal in one pot.
Frequently Asked Questions
Can I cook Rice-A-Roni in a rice cooker?
Yes, you can cook Rice-A-Roni in a rice cooker. However, you may need to adjust the water ratio and cooking time compared to traditional stovetop methods to ensure even cooking.
What adjustments do I need to make for cooking Rice-A-Roni in a rice cooker?
Start by using about 1.5 to 2 cups of water for each cup of Rice-A-Roni. Always refer to the specific instructions on the package for the best results, as different flavors may require slight variations in water and time.
How long does it take to cook Rice-A-Roni in a rice cooker?
The cooking time may vary depending on your rice cooker model, but it typically takes around 20 to 30 minutes. Keep an eye on the cooker, as it may switch to the ‘keep warm’ setting once the water is absorbed.
Should I sauté the rice and pasta before cooking in the rice cooker?
Sautéing the rice and pasta is optional, but it can enhance the flavor and texture. If your rice cooker has a sauté function, you can do this step before adding water and switching to the cooking mode.
Can I add other ingredients to Rice-A-Roni while cooking in a rice cooker?
Yes, you can add vegetables, proteins, or spices to your Rice-A-Roni for additional flavor and nutrition. Just be cautious with the amount of liquid you add, as it can affect the cooking process.

- 8 Easy Slow Cooker Beef and Rice Recipes for Delicious Meals - March 29, 2026
- Slow Cooker Beef and Sausage Chili: 7 Steps to Flavorful Success - March 29, 2026
- Savory Beef Back Ribs in a Pressure Cooker: 7 Steps to Perfection - March 29, 2026