Canning Vegetable Soup at Home: 7 Steps Without a Pressure Cooker
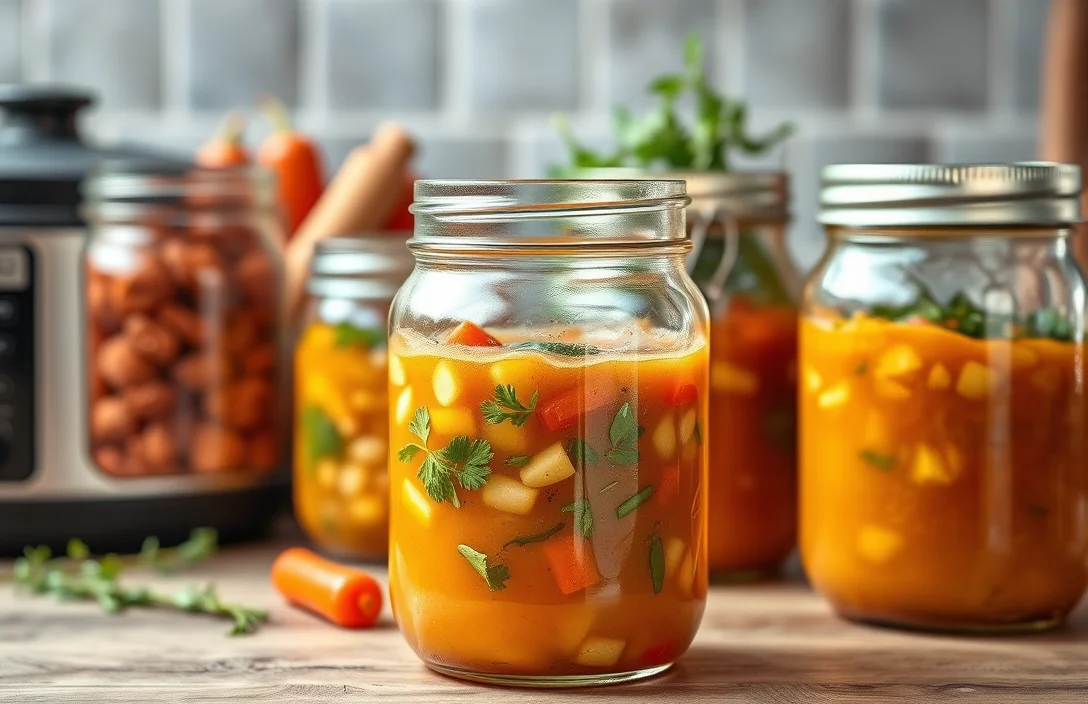
Imagine a steaming bowl of homemade vegetable soup, bursting with fresh flavors and vibrant colors—a dish that warms the soul and fills the belly on chilly evenings. This canning recipe not only captures that essence but also turns your favorite seasonal veggies into a comforting staple you can enjoy anytime.
With this guide, you’ll get a reliable, tested recipe for Ball canning vegetable soup without a pressure cooker. The total time is about 2 hours, it’s moderate in difficulty, and yields 6-8 servings.
| Prep Time | 30 minutes |
|---|---|
| Cook Time | 1 hour 30 minutes |
| Total Time | 2 hours |
| Servings | 6-8 |
| Difficulty | Moderate |
History of Vegetable Soup
Vegetable soup has a rich history that spans across cultures and centuries, serving as a staple dish that brings people together. Understanding its origins and significance can enhance our appreciation for this comforting meal, especially when preparing it for canning.
Cultural Origins
- Ancient Beginnings: Vegetable soup can be traced back to ancient civilizations, where it was a way to utilize seasonal produce and leftover ingredients. In many cultures, soups were a resourceful way to feed families with limited resources.
- Regional Variations: Different countries have their own unique takes on vegetable soup, from Italy’s minestrone to France’s potager. These variations reflect local ingredients and culinary traditions, making each version special.
Special Occasions for Serving
- Comfort Food: Vegetable soup is often associated with comfort and warmth, making it a popular choice during colder months or for family gatherings. It’s a dish that evokes feelings of home and care.
- Celebrations: In many cultures, special vegetable soups are prepared for holidays and celebrations, often featuring seasonal vegetables to mark the occasion. These soups symbolize abundance and sharing among loved ones.
Essential Ingredients List
In this section, we will cover the essential ingredients you need to prepare a flavorful vegetable soup for canning using the Ball method without a pressure cooker. Having the right ingredients ensures both the taste and safety of your canned soup, making it important to follow these measurements closely.
| Item | Amount/Specification | Notes |
|---|---|---|
| Olive oil | 2 tablespoons | For sautéing vegetables |
| Onion | 1 large, diced | Adds flavor |
| Garlic | 3 cloves, minced | Enhances flavor |
| Carrots | 2 medium, diced | Provides sweetness and texture |
| Celery | 2 stalks, diced | Classic soup base flavor |
| Green beans | 1 cup, chopped | Fresh or frozen |
| Potatoes | 2 medium, diced | Adds heartiness |
| Tomatoes | 1 can (14.5 oz) diced tomatoes | For acidity and flavor |
| Vegetable broth | 4 cups | Can substitute with chicken broth |
| Bay leaves | 2 leaves | For aroma |
| Thyme | 1 teaspoon, dried | For earthy flavor |
| Salt | 1 teaspoon | Adjust to taste |
| Pepper | ½ teaspoon | Freshly ground preferred |
- Use fresh vegetables for better flavor; however, frozen can be a convenient substitute.
- If you have allergies, consider using low-sodium broth or omitting certain spices.
- Chop vegetables to uniform sizes to ensure even cooking.
Required Kitchen Equipment
Having the right tools and equipment is essential for successfully canning vegetable soup using the Ball method without a pressure cooker. This section details the necessary items, ensuring you’re well-prepared to create a delicious and safe vegetable soup that can be preserved for later enjoyment.
- Canning Jars: You will need 8 to 10 pint-sized canning jars, preferably Ball or Mason jars, that are specifically designed for canning. Ensure they are clean and free from any chips or cracks, as this can compromise the seal and safety of your soup.
- Lids and Bands: A corresponding set of lids and bands for the jars is crucial. Use new lids each time for a proper seal, while the bands can be reused as long as they are in good condition. This ensures that your vegetable soup stays fresh and safe to eat.
- Chopping and Prepping Vegetables: Prepare your vegetables by using sharp knives and cutting boards. A vegetable peeler will also be handy for removing skins from carrots and potatoes. Aim for uniform sizes (about 1/2 inch) to ensure even cooking. You might need to chop about 4 cups of mixed vegetables such as carrots, green beans, bell peppers, and onions.
- Canning Funnel: A canning funnel helps to fill jars without spilling, which is especially useful when dealing with hot soup. This tool will save you time and keep your workspace tidy.
- Large Stockpot: Use a large stockpot to cook your vegetable soup. Aim for a pot that holds at least 6 quarts to accommodate the ingredients comfortably and allow for proper stirring without splashing.
Step-by-Step Canning Instructions
This section provides a detailed guide on preparing your vegetable soup, filling jars, and processing them using the water bath method. Following these steps will ensure your soup is safely preserved and delicious when ready to enjoy later.
- Prepare the Soup: Start by dicing 1 large onion, 2 cloves of garlic, and 2 carrots. Heat 2 tablespoons of olive oil in a large pot over medium heat (about 350°F / 175°C). Sauté the vegetables for 5-7 minutes until the onion is translucent and the mixture is fragrant.
- Add Vegetables and Stock: Stir in 1 cup of diced celery, 1 cup of chopped green beans, and 2 cups of diced tomatoes (fresh or canned). Pour in 4 cups of vegetable broth and season with 1 teaspoon of salt, ½ teaspoon of black pepper, and 1 teaspoon of dried basil. Bring the mixture to a boil, then reduce the heat and simmer for 20 minutes until vegetables are tender.
- Fill the Jars: While the soup simmers, prepare your canning jars by washing them in hot, soapy water or running them through a dishwasher. Once ready, ladle the hot soup into each sterilized jar, leaving a 1-inch headspace at the top. Wipe the rims with a clean cloth to remove any residue before placing the lids on.
- Process the Jars: Fill a large pot with water and bring it to a boil. Carefully lower the filled jars into the boiling water, ensuring they are fully submerged. Process the jars in the water bath for 35 minutes. The water should remain at a consistent boil during this time; adjust the heat as necessary.
Professional Tips for Success
Successfully canning vegetable soup without a pressure cooker requires careful attention to detail, especially regarding cooking time and ensuring a proper seal. By following these expert tips, you can avoid common pitfalls and achieve delicious, safely preserved soup.
Avoiding Overcooking
Overcooking vegetables can lead to mushy soup and a less appealing texture. Here are some tips to keep your veggies firm:
- Blanch vegetables before adding them to the soup. Blanch for no more than 2-3 minutes in boiling water to preserve texture and color.
- Aim for a cooking temperature of 190°F (88°C) during the canning process. This is the sweet spot for flavor without compromising texture.
- Monitor the soup closely while simmering. The vegetables should be tender but still slightly crisp when you fill your jars.
Ensuring Proper Seal
A proper seal is crucial for preventing spoilage. Follow these guidelines to ensure your jars seal effectively:
- Before filling, make sure to clean the rim of each jar with a damp cloth to remove any food particles.
- Use new jar lids each time to guarantee a tight seal. Reusing lids can lead to failure.
- Leave 1-inch headspace in each jar to allow for expansion during processing.
Chef’s tip: After sealing, gently tap each jar on the counter. If you hear a popping sound, the seal is not secure. Reprocess or refrigerate that jar.
| Common Mistakes | How to Avoid |
|---|---|
| Overfilling jars | Always leave the recommended headspace (1 inch). |
| Not using fresh lids | Buy new lids for each canning session to ensure a good seal. |
| Skipping the cleaning step | Wipe jar rims thoroughly before placing lids on. |
Recipe Variations and Substitutions
This section provides alternative ingredient options and dietary modifications for your vegetable soup, making it adaptable to various preferences and dietary needs. Whether you’re looking for gluten-free or vegan options, these suggestions will ensure that everyone can enjoy your delicious canned soup.
Gluten-Free Options
| Item | Amount/Specification | Notes |
|---|---|---|
| All-Purpose Flour | 1 tablespoon (8g) | Use gluten-free all-purpose flour blend for thickening if needed. |
| Vegetable Broth | 4 cups (960ml) | Ensure it’s labeled gluten-free. |
Vegan Swaps
| Item | Amount/Specification | Notes |
|---|---|---|
| Chicken Broth | 4 cups (960ml) | Substitute with vegetable broth for a vegan version. |
| Butter | 2 tablespoons (30g) | Replace with coconut oil or vegan butter. |
- For a richer flavor, consider adding smoked paprika or liquid smoke for a smoky taste.
- If you have fresh herbs, feel free to replace dried herbs with 3 times the amount for a fresher flavor.
- You can swap in any seasonal vegetables you have on hand, such as zucchini or green beans.
Serving and Pairing Suggestions
Pairing your homemade canned vegetable soup with complementary sides can elevate your meal experience. Whether you’re enjoying it straight from the jar or serving it at a gathering, these suggestions will enhance the flavor and presentation of your dish.
Best Sides to Serve
- Crusty Bread: A warm, crusty baguette or a slice of sourdough is perfect for dipping. Try toasting it lightly for added crunch.
- Grilled Cheese Sandwich: The gooey, melted cheese contrasts beautifully with the hearty soup. Use 2 slices of your choice of bread and 2 ounces of cheese per sandwich.
- Salad: A simple mixed greens salad with a light vinaigrette can provide a refreshing balance. Consider using 2 cups of mixed greens with 1 tablespoon of balsamic vinaigrette.
- Crackers: Serve with an assortment of crackers for a crunchy texture. Try pairing with a garlic herb spread or hummus for extra flavor.
Ideal Garnishes
Adding garnishes can enhance both the look and taste of your soup. Here are some ideas:
- Fresh Herbs: Chopped parsley or basil adds a burst of freshness. Use about 1 tablespoon for each serving.
- Cheese: Grated Parmesan or crumbled feta can enrich the flavor. Use around 1 ounce per bowl.
- Olive Oil Drizzle: A light drizzle of high-quality olive oil can elevate the taste. Aim for about 1 teaspoon per serving.
Chef’s tip: For an extra layer of flavor, sauté some garlic and onions before adding your soup for serving!
Quick Summary
- Prep Time: 30 minutes
- Cook Time: 1 hour
- Total Time: 1 hour 30 minutes
- Servings: 6-8 jars
| Step | Description |
|---|---|
| 1 | Chop vegetables (carrots, celery, onions, etc.) into uniform pieces. |
| 2 | Sauté vegetables in a large pot with olive oil for 10 minutes. |
| 3 | Add broth, seasonings, and bring to a simmer for 30 minutes. |
| 4 | Fill sterilized jars with hot soup, leaving 1-inch headspace. |
| 5 | Process jars in a boiling water bath for 35 minutes. |
- Use fresh vegetables: Ensures vibrant flavor and texture.
- Leave headspace: Essential for proper sealing and expansion during processing.
- Check seals: Make sure lids pop down after cooling to confirm a good seal.
Frequently Asked Questions
Can I make this ahead of time? How to store and reheat?
You can absolutely make this soup ahead of time! Store it in sealed jars in a cool, dark place, and when you’re ready to enjoy, reheat it on the stovetop over medium heat until steaming, about 10-15 minutes.
What can I substitute for [key ingredient]?
If you’re out of a key ingredient like green beans, you can substitute them with zucchini or peas, which will provide a similar texture and flavor profile. Just chop them into bite-sized pieces for even cooking.
How do I know when it’s done?
Your vegetable soup is done when the vegetables are tender but still vibrant in color, usually after about 30-40 minutes of simmering. A quick taste test will let you know if it needs more seasoning or time!
Can I freeze this? How long does it last?
You can freeze your vegetable soup for up to 3 months in airtight containers or freezer bags. Just make sure to leave some headspace for expansion when freezing!
What if I don’t have [specific equipment]?
If you don’t have a water bath canner, you can use a large pot with a lid, ensuring it’s deep enough to fully submerge your jars while boiling. Just keep an eye on the water level and add more as necessary during the canning process.

- 8 Easy Slow Cooker Beef and Rice Recipes for Delicious Meals - March 29, 2026
- Slow Cooker Beef and Sausage Chili: 7 Steps to Flavorful Success - March 29, 2026
- Savory Beef Back Ribs in a Pressure Cooker: 7 Steps to Perfection - March 29, 2026