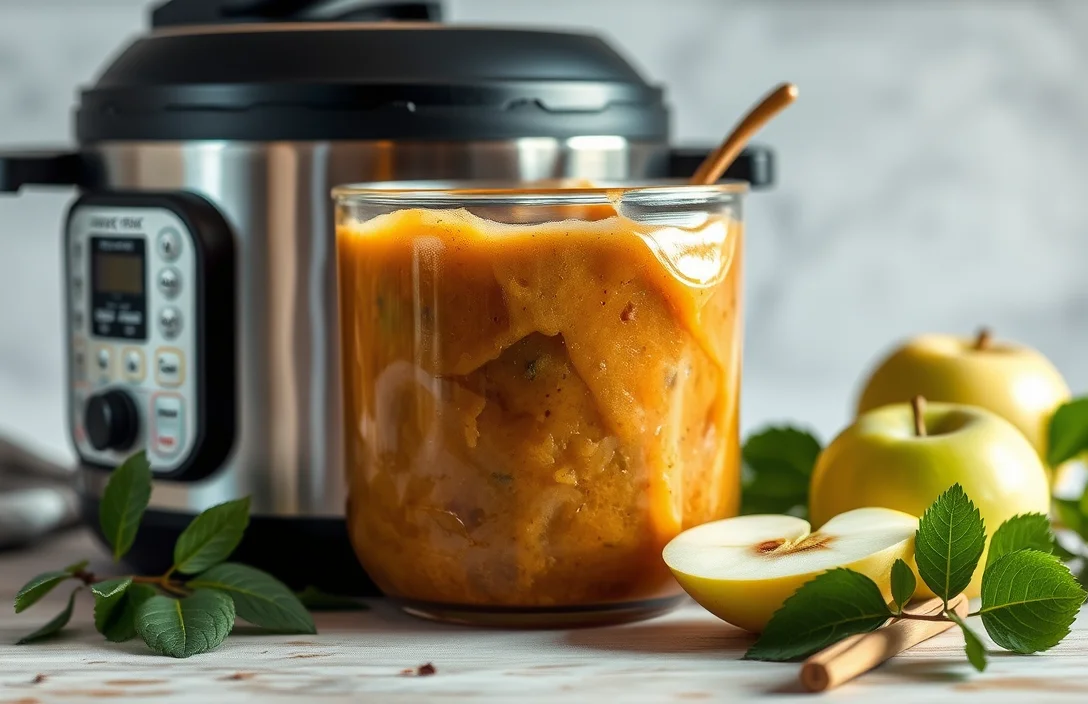
Pressure Cooker Apple Butter: Easy 7-Step Recipe with Tips
There’s something incredibly comforting about homemade apple butter, rich with the warm flavors of cinnamon and nutmeg. Imagine spreading this sweet, spiced goodness on warm toast or a flaky biscuit, filling your kitchen with a cozy aroma that invites everyone to the table. It’s the perfect way to preserve the taste of fall all year long.
Total Time: 2 hours, Difficulty: Easy, Servings: 4 pints
| Prep Time | Cook Time | Total Time | Servings | Difficulty |
|---|---|---|---|---|
| 30 minutes | 90 minutes | 2 hours | 4 pints | Easy |
Apple Butter History
Apple butter has a rich history, rooted in the need to preserve the abundant apple harvests of autumn. Its significance extends beyond mere sustenance; it represents cultural traditions and family gatherings centered around shared meals.
- Origin of Apple Butter: Apple butter originated in Europe, particularly in regions like Germany and France, where it was used as a means to preserve apples long after the harvest. The method of slow-cooking apples with sugar and spices dates back to the 15th century, allowing families to enjoy the fruit’s flavor throughout the year.
- Cultural Importance: In many cultures, apple butter is more than a condiment; it’s a symbol of community and hospitality. It is often served during festive occasions, family gatherings, and holidays, evoking a sense of nostalgia and warmth. The spread is commonly enjoyed with biscuits, bread, or as a filling in various desserts.
- When to Serve: Traditionally, apple butter is served in the fall, coinciding with apple harvest season. However, its deliciously sweet and spiced flavor makes it a delightful addition to breakfast tables year-round, pairing well with pancakes, oatmeal, or even as a glaze for meats.
Ingredients for Apple Butter
In this section, we’ll detail the specific ingredients needed to create a delicious apple butter in your pressure cooker. Using the right apples, sweeteners, and spices is crucial for achieving a rich, flavorful spread that you can enjoy throughout the year.
| Item | Amount/Specification | Notes |
|---|---|---|
| Apples | 6 cups (about 6-8 medium apples) | Use a mix of sweet and tart apples, like Fuji and Granny Smith for depth of flavor. |
| Sugar | 1 cup (200g) | Adjust to taste; you can use brown sugar for a richer flavor. |
| Cinnamon | 1 teaspoon | Freshly ground is best for maximum flavor. |
| Allspice | 1/2 teaspoon | Optional, but adds warmth and complexity. |
| Nutmeg | 1/4 teaspoon | Use freshly grated for the best aroma. |
| Salt | 1/4 teaspoon | Enhances the sweetness of the apples. |
| Lemon Juice | 2 tablespoons | Adds brightness and helps preserve color. |
- For a sugar-free option, consider using maple syrup or agave nectar, adjusting the amount to taste.
- If you prefer a smoother texture, you can blend the apple butter after cooking.
- Don’t skip the spices; they elevate the flavor profile significantly.
Required Kitchen Equipment
To make delicious apple butter in a pressure cooker, having the right tools is essential for a smooth cooking process. Here’s a list of equipment you’ll need, along with some prep instructions to ensure everything runs efficiently.
- Pressure Cooker: A 6-quart or larger pressure cooker will work best for making apple butter. Ensure it has a locking mechanism and a steam release valve. This allows you to cook the apples quickly while retaining their flavor and nutrients.
- Canning Jars: Prepare 4 to 6 half-pint canning jars with lids and bands. Make sure to sterilize the jars by placing them in a boiling water bath for 10 minutes. This is crucial for preserving the apple butter safely.
- Chopping Tools: A sturdy cutting board and a sharp knife are necessary for dicing your apples. Aim for uniform pieces, about 1-inch in size, to ensure even cooking. You may also want an apple peeler or corer to save time.
- Measuring Cups and Spoons: Accurate measurements are crucial for achieving the perfect balance of flavors. Use a liquid measuring cup for the apple cider and dry measuring cups for the sugar and spices.
- Blender or Immersion Blender: After cooking, you’ll need to blend the apple mixture into a smooth consistency. An immersion blender is handy for this, but a standard blender will work as well. Just be cautious with hot liquids.
Step-by-Step Cooking Instructions
This section will guide you through the entire process of making apple butter in a pressure cooker, from preparing your apples to achieving the perfect consistency. Following these detailed steps will ensure your apple butter turns out delicious every time!
- Preparing Apples: Start by washing and peeling 6 pounds (2.7 kg) of your favorite apples, such as Granny Smith or Honeycrisp. Core and dice them into 1-inch pieces, which will help them cook evenly. You should have roughly 8-10 cups of diced apples. As you work, the apples should smell fresh and fruity.
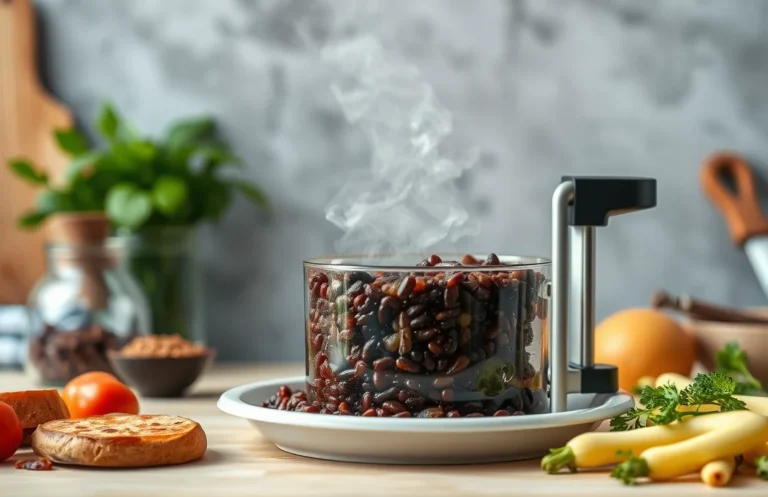
- Cooking in Pressure Cooker: Add the diced apples to your pressure cooker along with 1 cup (240 ml) of apple cider, 1 cup (200 g) of brown sugar, 1 tablespoon of ground cinnamon, and ½ teaspoon of ground nutmeg. Lock the lid and set the pressure cooker to high for 10 minutes. Once cooking is complete, let the pressure release naturally for about 10 minutes before performing a quick release. The apples should be soft and fragrant, almost like a warm apple pie.
- Blending and Adjusting Consistency: Carefully remove the lid and use an immersion blender to puree the apple mixture until smooth. If you prefer a chunkier texture, blend briefly or mash with a potato masher. If the apple butter is too thick for your liking, stir in a splash of additional apple cider until you reach your desired consistency. Taste and adjust sweetness or spice by adding more sugar or cinnamon if needed.
Chef Tips and Mistakes
This section provides essential tips for making the best apple butter in a pressure cooker, along with common pitfalls to avoid. Understanding these nuances can significantly enhance the flavor and texture of your homemade apple butter.
Choosing the Right Apples
- Opt for a mix of sweet and tart apples: Combine varieties like Honeycrisp, Fuji, and Granny Smith for a balanced flavor. Sweet apples provide natural sweetness, while tart varieties help with acidity.
- Ensure freshness: Select apples that are firm and free from bruises. Fresh apples will yield better flavor and a smoother texture.
Avoiding Burnt Sugar
- Monitor cooking temperatures: Keep the pressure cooker on medium heat when sautéing any sugars. If you notice the sugar starting to darken too quickly, reduce the heat immediately to prevent burning.
- Stir frequently: During the initial cooking phase, stir the apple mixture often to ensure even cooking and to avoid any sugar sticking to the bottom of the pot.
Consistency Checks
- Check thickness during cooking: After about 20 minutes of pressure cooking, release the pressure and check the consistency. The apple butter should be thick enough to coat the back of a spoon without running.
- Adjust as needed: If it’s too runny, simmer it uncovered on the sauté setting for an additional 10-15 minutes, stirring frequently until it thickens to your desired consistency.
Recipe Variations
This section covers various substitutions and modifications you can make when preparing apple butter in a pressure cooker, ensuring that you can accommodate different dietary needs and preferences. Whether you’re looking to reduce sugar, modify spices, or create a vegan version, these variations will help you create a delicious apple butter tailored to your taste.
Sugar Alternatives
- Honey: Replace 1 cup of sugar with ¾ cup of honey for a natural sweetness. Note that honey may alter the final texture slightly.
- Maple Syrup: Swap 1 cup of sugar for 1 cup of pure maple syrup. This will give your apple butter a rich, unique flavor.
- Stevia: Use 1 teaspoon of stevia extract (or according to package instructions) to replace sugar, as it is much sweeter than sugar. Adjust to taste.
Spice Variations
- Cinnamon: Use 1 teaspoon of ground cinnamon for a classic flavor. You can also try adding ½ teaspoon of cinnamon sticks for a more robust infusion.
- Nutmeg: A pinch of freshly grated nutmeg (about ¼ teaspoon) can add warmth and depth.
- Allspice: Incorporate ½ teaspoon of allspice for a unique blend of flavors.
Vegan Options
Chef’s tip: Ensure that all sweeteners and spices are vegan-friendly, especially if you’re using pre-packaged products.
To make your apple butter vegan, simply use any of the sugar alternatives listed above, and ensure that no dairy products are included in your recipe. The traditional apple butter is naturally vegan, so this is an easy switch!
| Ingredient | Standard | Alternative |
|---|---|---|
| Sugar | 1 cup | ¾ cup honey or 1 cup maple syrup |
| Cinnamon | 1 tsp | ½ tsp cinnamon sticks or added nutmeg |
Serving and Pairing Suggestions
Apple butter is a versatile treat that can elevate your breakfast or snack time. Knowing how to serve it and what to pair it with can make all the difference in enjoying its rich, spiced flavor. Here are some delightful ways to enjoy your homemade apple butter.
- Best Spreads: Serve apple butter warm or at room temperature as a spread on toast or biscuits. A good rule of thumb is to use about 2 tablespoons of apple butter per slice of bread. It should have a smooth, spreadable consistency, gliding easily over your chosen bread or pastry.
- Pairing with Cheeses: The sweetness of apple butter pairs beautifully with sharp cheeses like aged cheddar or blue cheese. For a delightful cheese board, layer apple butter on crackers and top with slices of cheese. Aim for about 1 tablespoon of apple butter per cracker for a perfect balance of flavors.
- Breakfast Options: Drizzle apple butter over pancakes or waffles, using about ¼ cup for 4 servings, to add a delightful twist to your breakfast. You can also stir it into oatmeal or yogurt for a flavorful morning boost.
- In Baking: Incorporate apple butter into baked goods like muffins or bread. Substitute ½ cup of apple butter for butter or oil in your favorite recipe for added moisture and flavor. This will enhance the texture while infusing each bite with a warm apple spice essence.
- Storage and Longevity: If you have leftovers, store apple butter in an airtight container in the refrigerator for up to 2 weeks. It also makes an excellent gift when jarred and labeled beautifully. Just ensure the jars are sterilized before filling to prevent spoilage.
Quick Summary
| Prep Time | Cook Time | Total Time | Servings |
|---|---|---|---|
| 15 minutes | 30 minutes | 45 minutes | 6-8 jars |
- Choose the right apples: Use a mix of sweet and tart varieties for depth of flavor.
- Pressure cook: Set to high pressure for 15 minutes for perfect consistency.
- Blend to desired texture: Use an immersion blender for smooth apple butter.
- Adjust sweetness: Taste and add sugar or cinnamon after cooking if needed.
- Cool before storing: Let it cool completely before transferring to jars for best preservation.
- Tip: Use fresh lemon juice to enhance flavor and preserve color.
- Tip: Avoid overfilling the pressure cooker to prevent spillage.
Frequently Asked Questions
Can I make this ahead of time? How to store and reheat?
You can definitely make apple butter ahead of time! Store it in an airtight container in the fridge for up to two weeks, or reheat gently on the stove over low heat when you’re ready to enjoy it.
What can I substitute for brown sugar?
If you don’t have brown sugar, you can use granulated sugar mixed with a little molasses (1 cup sugar + 1 tablespoon molasses) for a similar flavor profile in your apple butter.
How do I know when it’s done?
Your apple butter is done when it reaches a thick, spreadable consistency, which usually takes about 20 minutes of cooking after the pressure is released; it should hold its shape on a spoon.
Can I freeze this? How long does it last?
Yes, you can freeze apple butter! It will maintain its best quality for up to one year in the freezer, but is best used within six months for optimal flavor.
What if I don’t have a pressure cooker?
If you don’t have a pressure cooker, you can make apple butter on the stove by simmering it in a large pot for about 2 to 3 hours until it thickens, stirring occasionally to prevent sticking.

- 8 Easy Slow Cooker Beef and Rice Recipes for Delicious Meals - March 29, 2026
- Slow Cooker Beef and Sausage Chili: 7 Steps to Flavorful Success - March 29, 2026
- Savory Beef Back Ribs in a Pressure Cooker: 7 Steps to Perfection - March 29, 2026